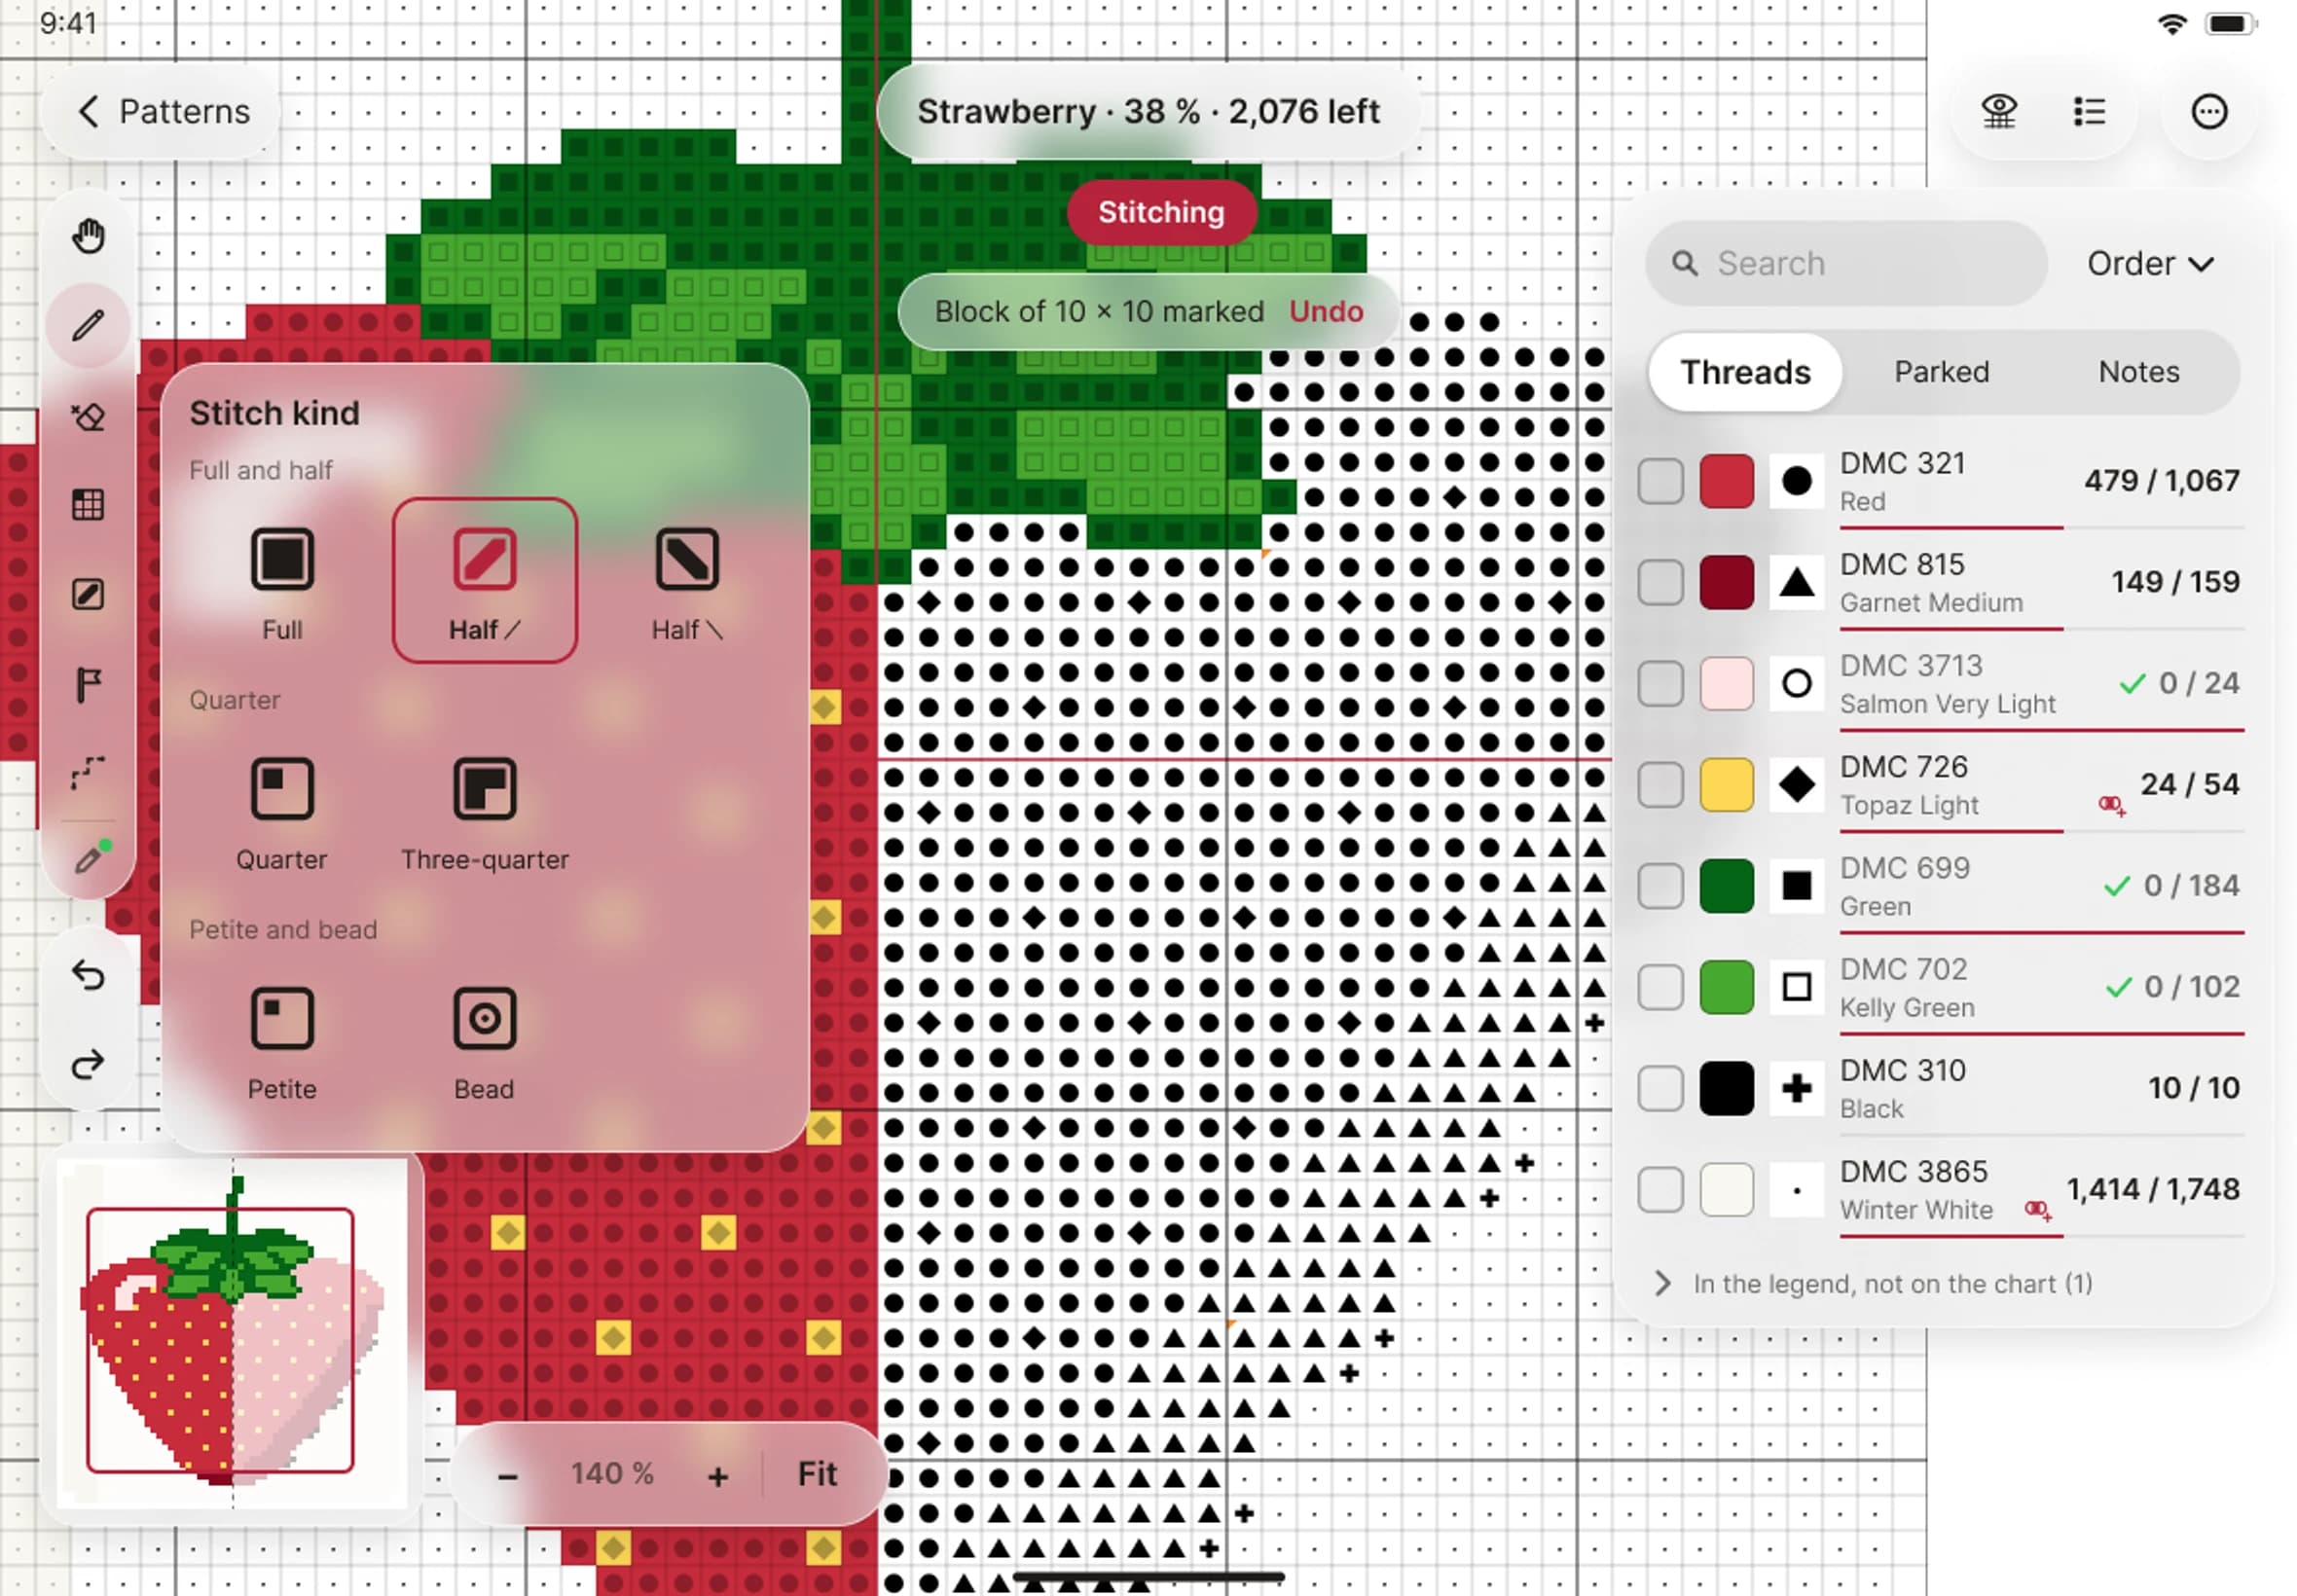
Mark stitches
Tap or drag to mark the stitches you've done.
What you'll do: mark squares as stitched, one at a time or in a run.
Before you start
Finish setup and tap Start stitching. The stitching screen has your chart in the middle and the tools down the left.
Steps
- Choose the Mark tool in the tool strip. Mark only marks, so it never takes a stitch away.
- Tap a square. It fills in with the thread's colour.
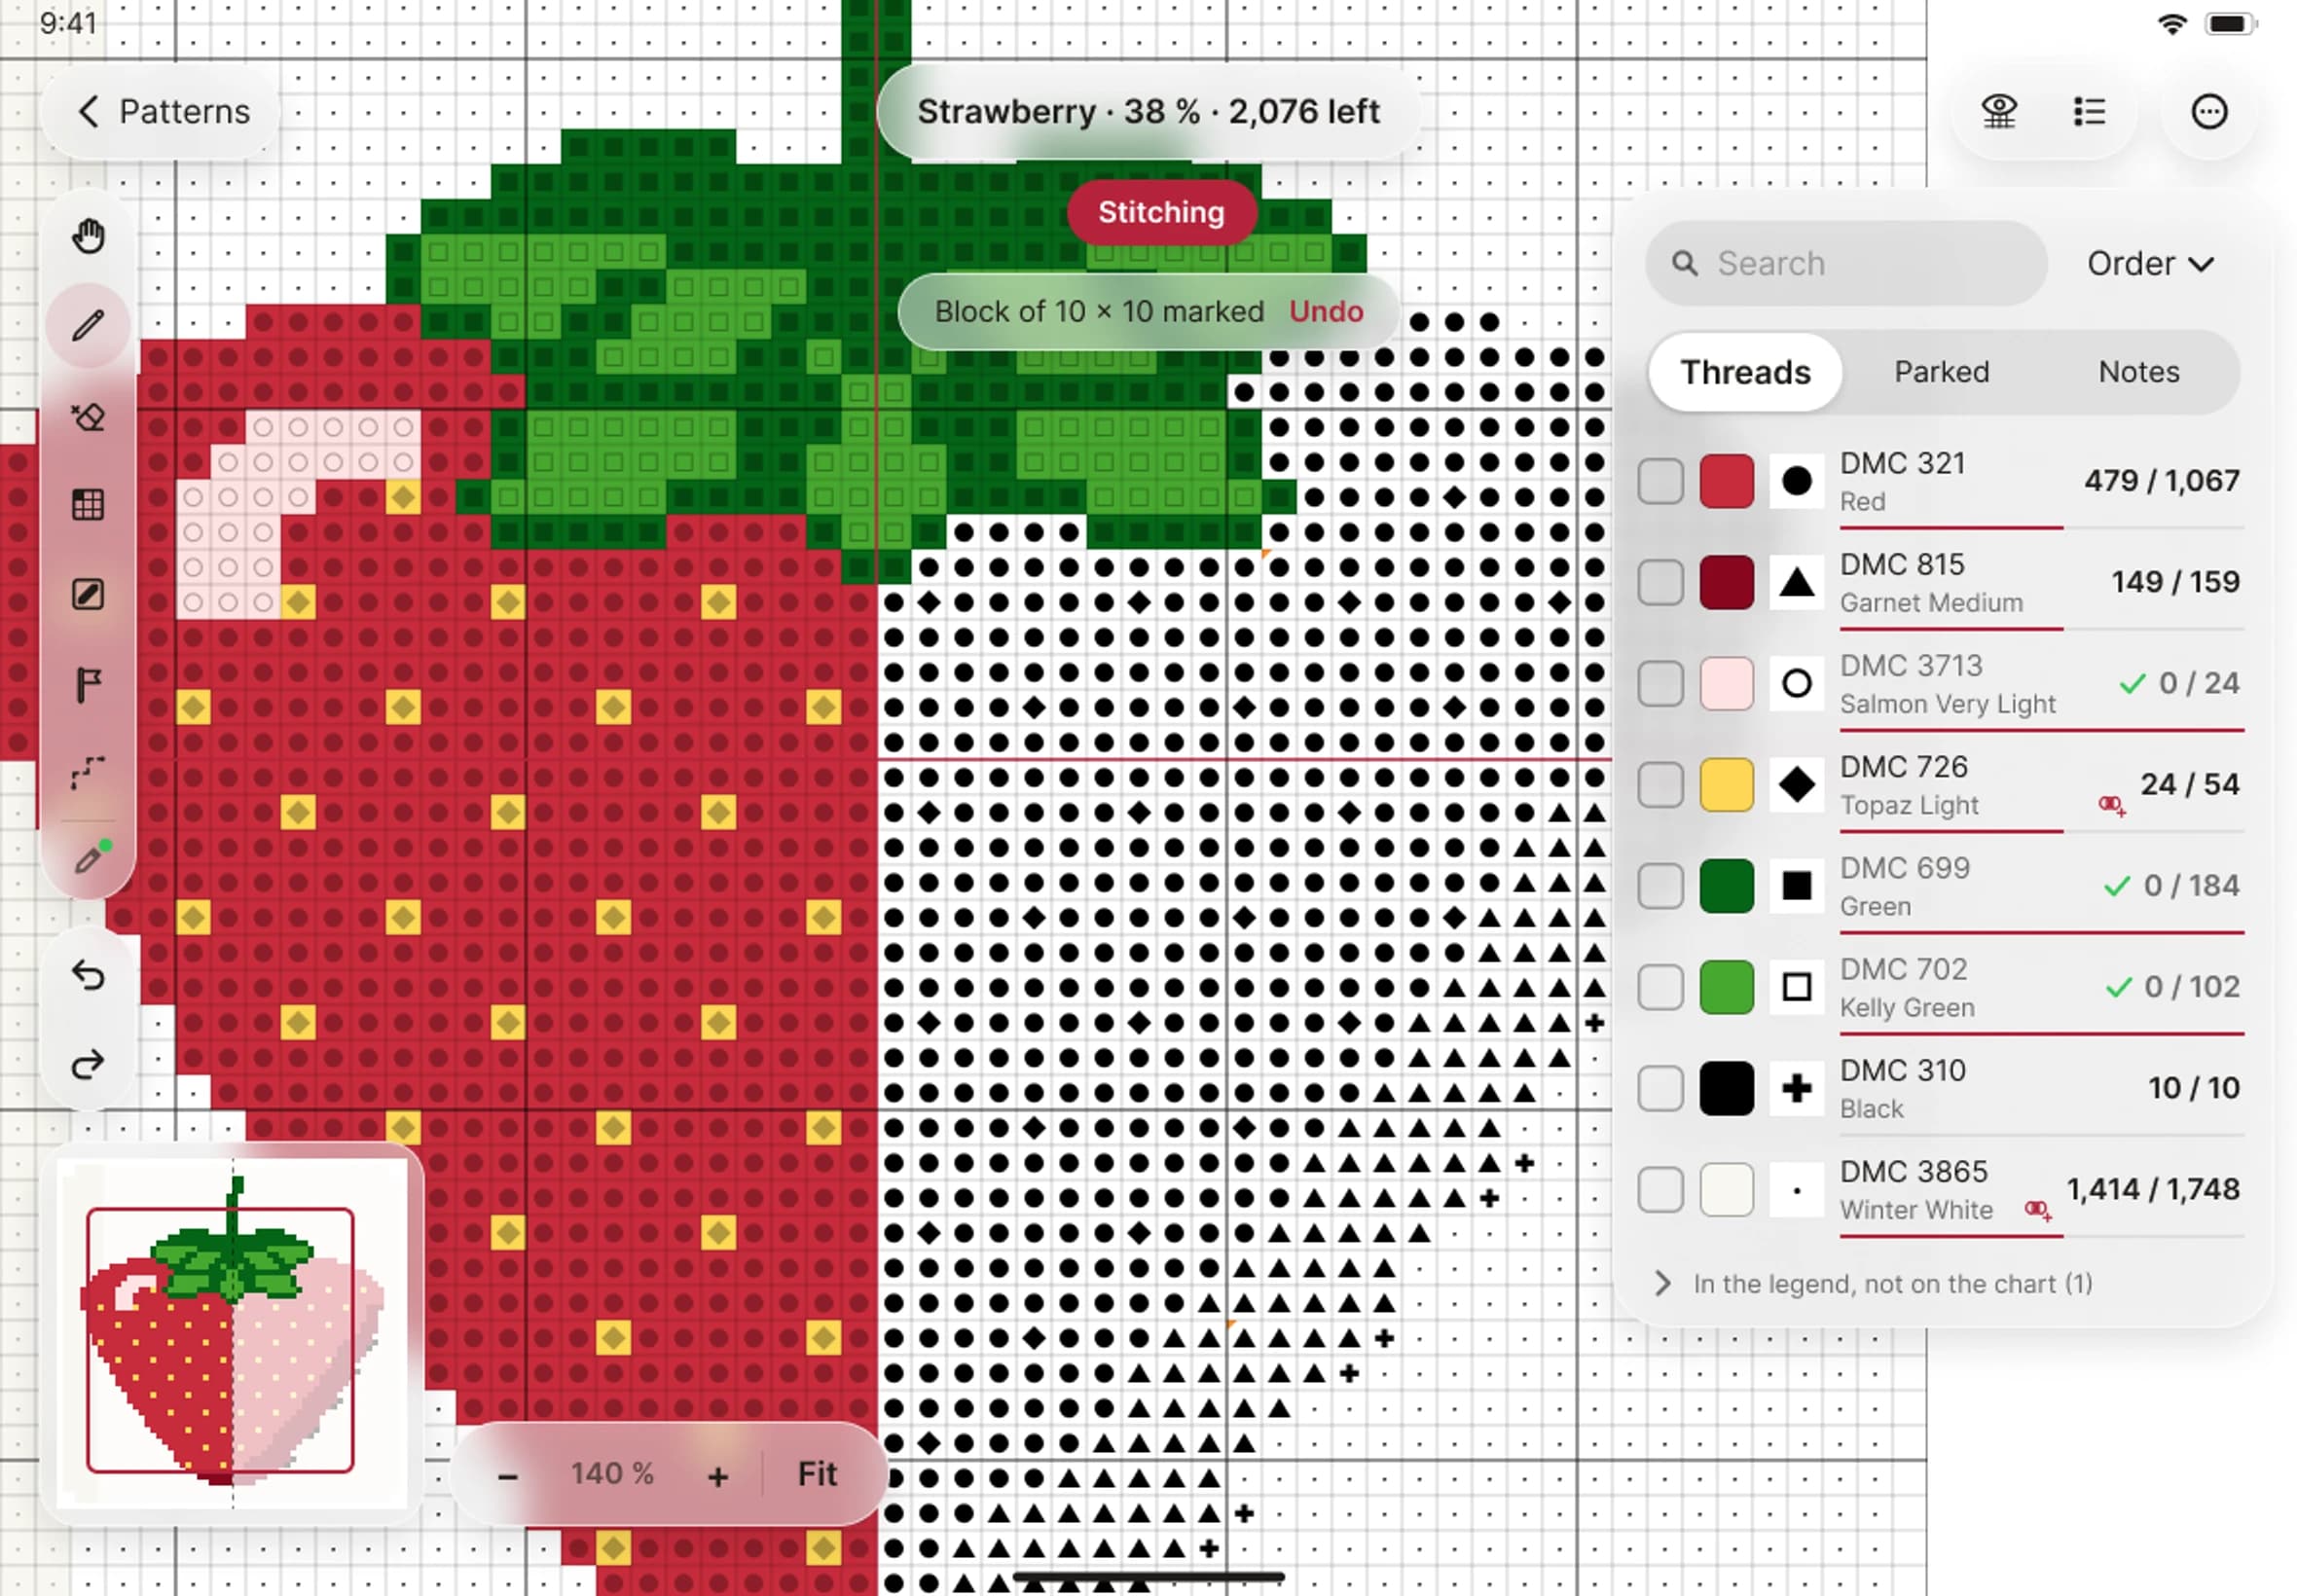
- To mark a run, drag across the squares. They are joined as you go and saved when you lift your finger. A run crosses page breaks without a gap. Use your finger or an Apple Pencil: you choose which in Settings ▸ Stitching.
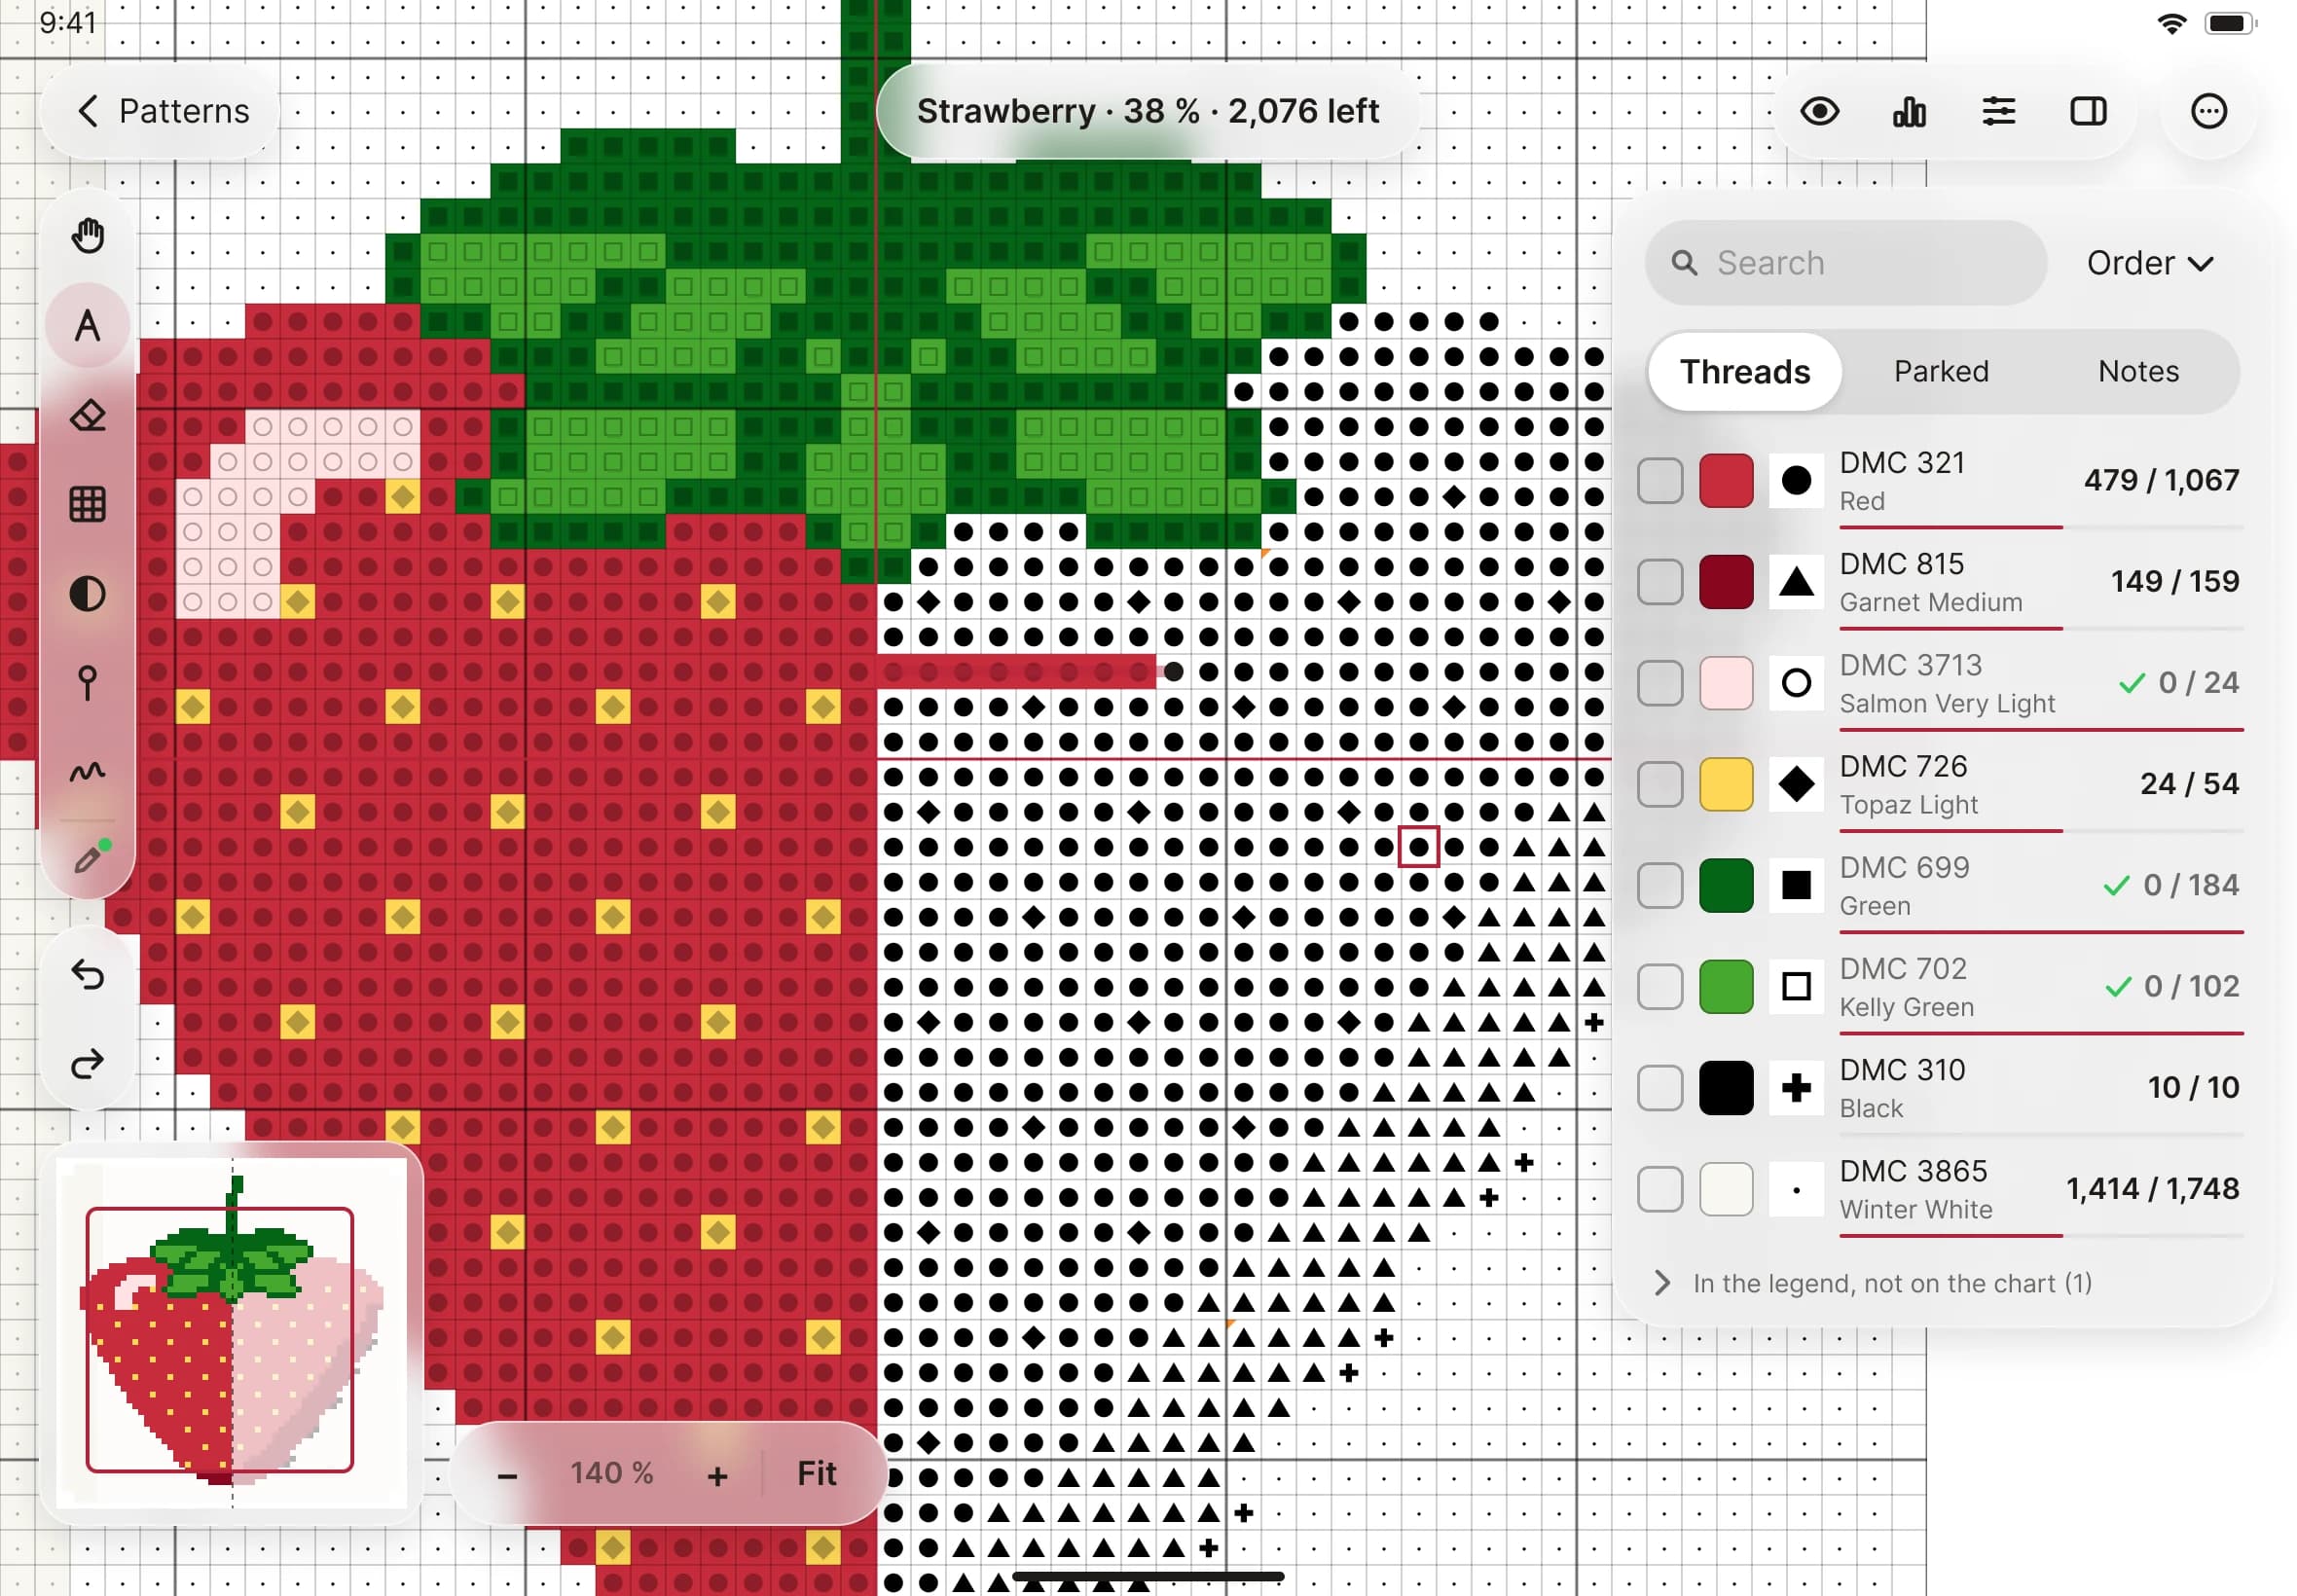
- Pinch to zoom, and drag to move around the chart. The progress at the top shows how much is left.
- To mark something other than a full stitch, open the stitch kind picker in the tool strip. It shows drawings of Full, Half (two slants), Quarter, Three-quarter, Petite and Bead. Choose one, then mark as before.